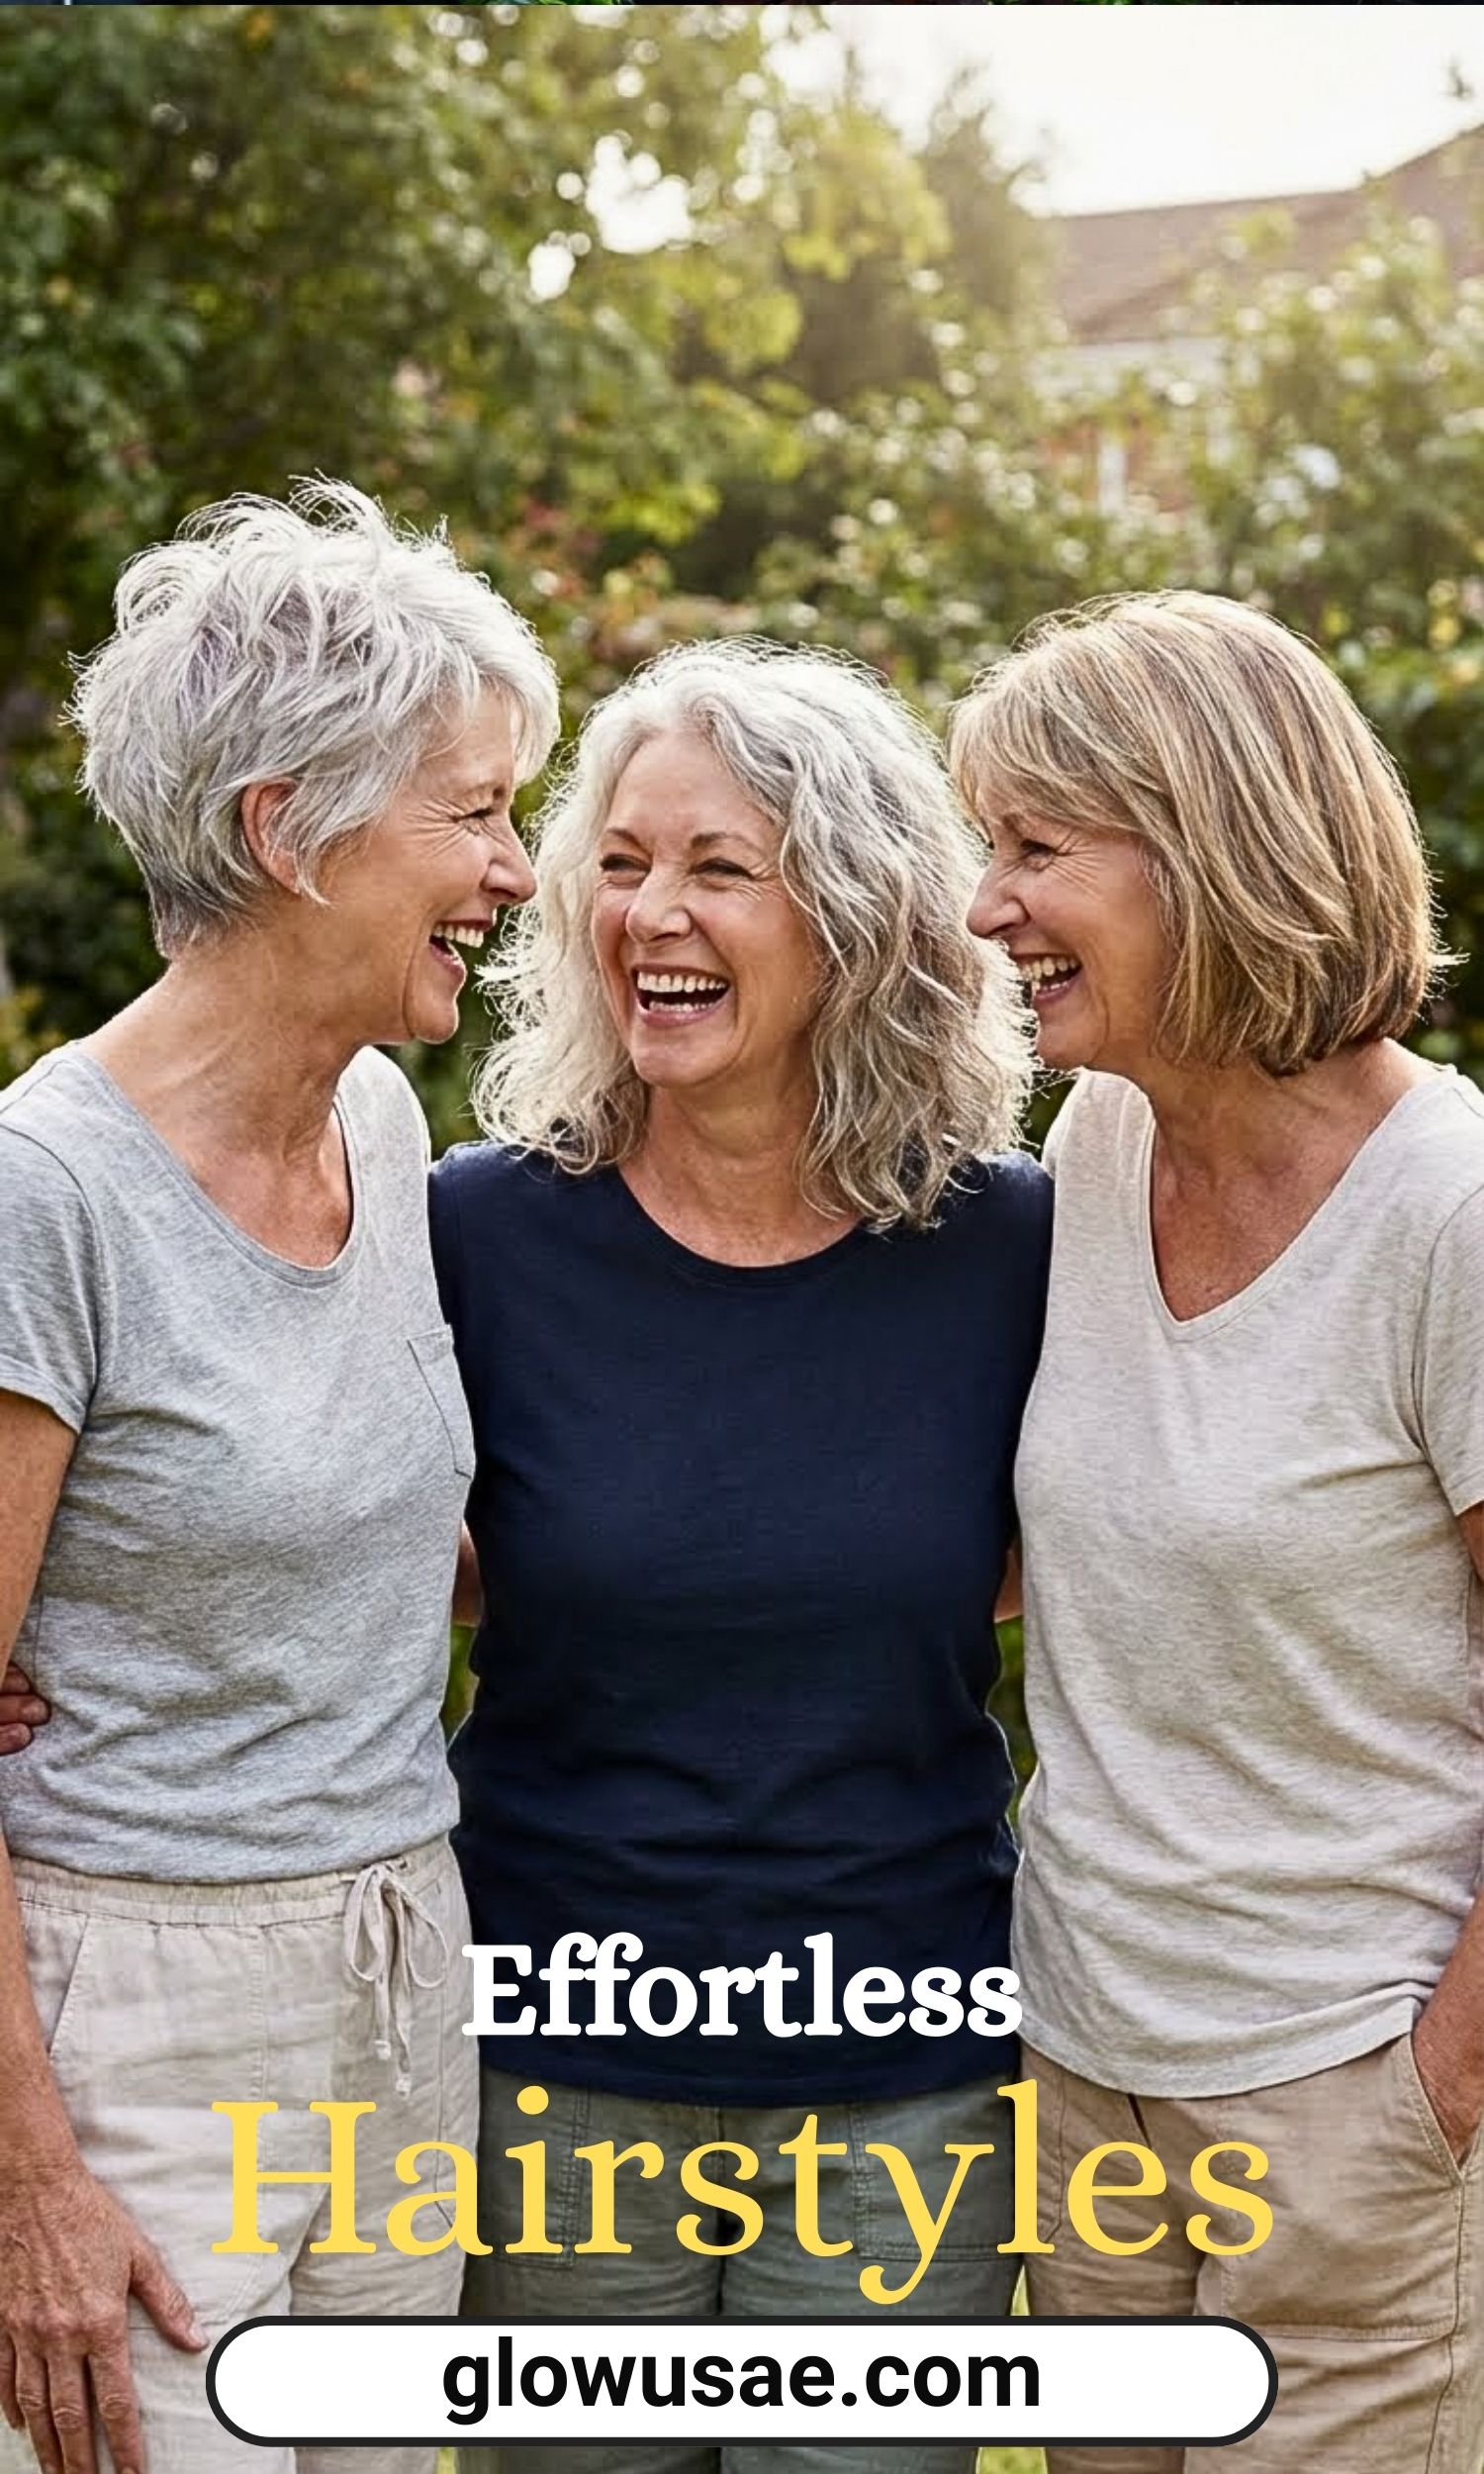
10 Expert Curling Wand Tips That Deliver Salon-Quality Results at Home

1. Treat Your Hair With a Heat Protectant
Freshly washed hair looks great, but it’s also fragile. I learned this the hard way after curling straight out of the shower and wondering why my ends felt like straw.
A good heat protectant adds moisture and forms a shield. Think of it like sunscreen for your hair. Healthy hair curls better, shines more, and feels softer every time you touch it.
2. Check for Damp Spots
If there’s one rule I never break now, it’s this one. Hair must be 100% dry before heat touches it. Even slightly damp hair can sizzle, and that sound is damage happening fast.
Run your fingers from root to tip. Take your time. If you hear a sizzle while curling, stop right away and let that section dry fully.
3. Be Mindful of the Temperature
More heat does not mean better curls. I used to crank the dial all the way up and regret it every time. Dry hair can still burn, even if it feels fine at first.
Start low. Test one curl. If it doesn’t hold, go up a little. You can always add heat, but you can’t undo damage.
4. Match the Barrel Size to Your Goal
Barrel size changes everything. I once used a tiny wand hoping for loose waves and ended up with tight coils that lasted three days.
For big, glam curls, go bigger. A 1.5–2 inch barrel works beautifully. For tight curls, use smaller sections and a barrel under one inch.
5. Hold the Wand at the Right Angle
This surprised me when I first learned it. The angle of your wand affects how long curls last and how they fall.
Straight up and down looks nice at first, but curls drop fast. Fully horizontal can leave weird gaps. Aim for a gentle 45-degree angle for smooth spirals and real volume.
6. Wrap Hair in Different Directions
Always curling away from your face feels safe, but it can backfire. I once finished my hair and realized everything blended into one big curl. Not cute.
Start by curling away from your face. Then alternate directions as you go. This adds volume, movement, and that effortless “I woke up like this” look.
7. Don’t Hold the Hair Too Long
I get it. You want curls that last all night. I used to hold each section forever, thinking longer meant stronger.
Truth is, curls set in about 8–10 seconds. Anything longer just dries out your hair. Set the curl, release, and trust the process.
8. Add Mousse Before Drying
This step changed everything for me. A small amount of mousse on damp hair gives hold without stiffness.
Work it through mid-lengths and ends. Only add it near the roots if you plan to curl close to the scalp. Less is more here—greasy roots are not the goal.
9. Pin Your Curls to Cool
Yes, it takes extra time. Yes, it’s worth it. When I really need my curls to last, I always pin them.
Cup the curl in your palm, roll it up gently, and clip it flat to your head. Letting curls cool this way locks in the shape and boosts staying power big time.
10. Finish With Hairspray
Hairspray gets a bad rap, but it’s a lifesaver for curled styles. You don’t need much. A few light sprays go a long way.
Hold the can at a distance. Shield your eyes. Avoid the crunch. The result is soft curls that stay put and still move naturally.
If there’s one thing I’ve learned, it’s that great curls aren’t about rushing. They’re about patience, prep, and a few smart tricks. Once you find your rhythm, curling your hair feels less like a chore and more like a little ritual—and honestly, that’s when the magic happens.