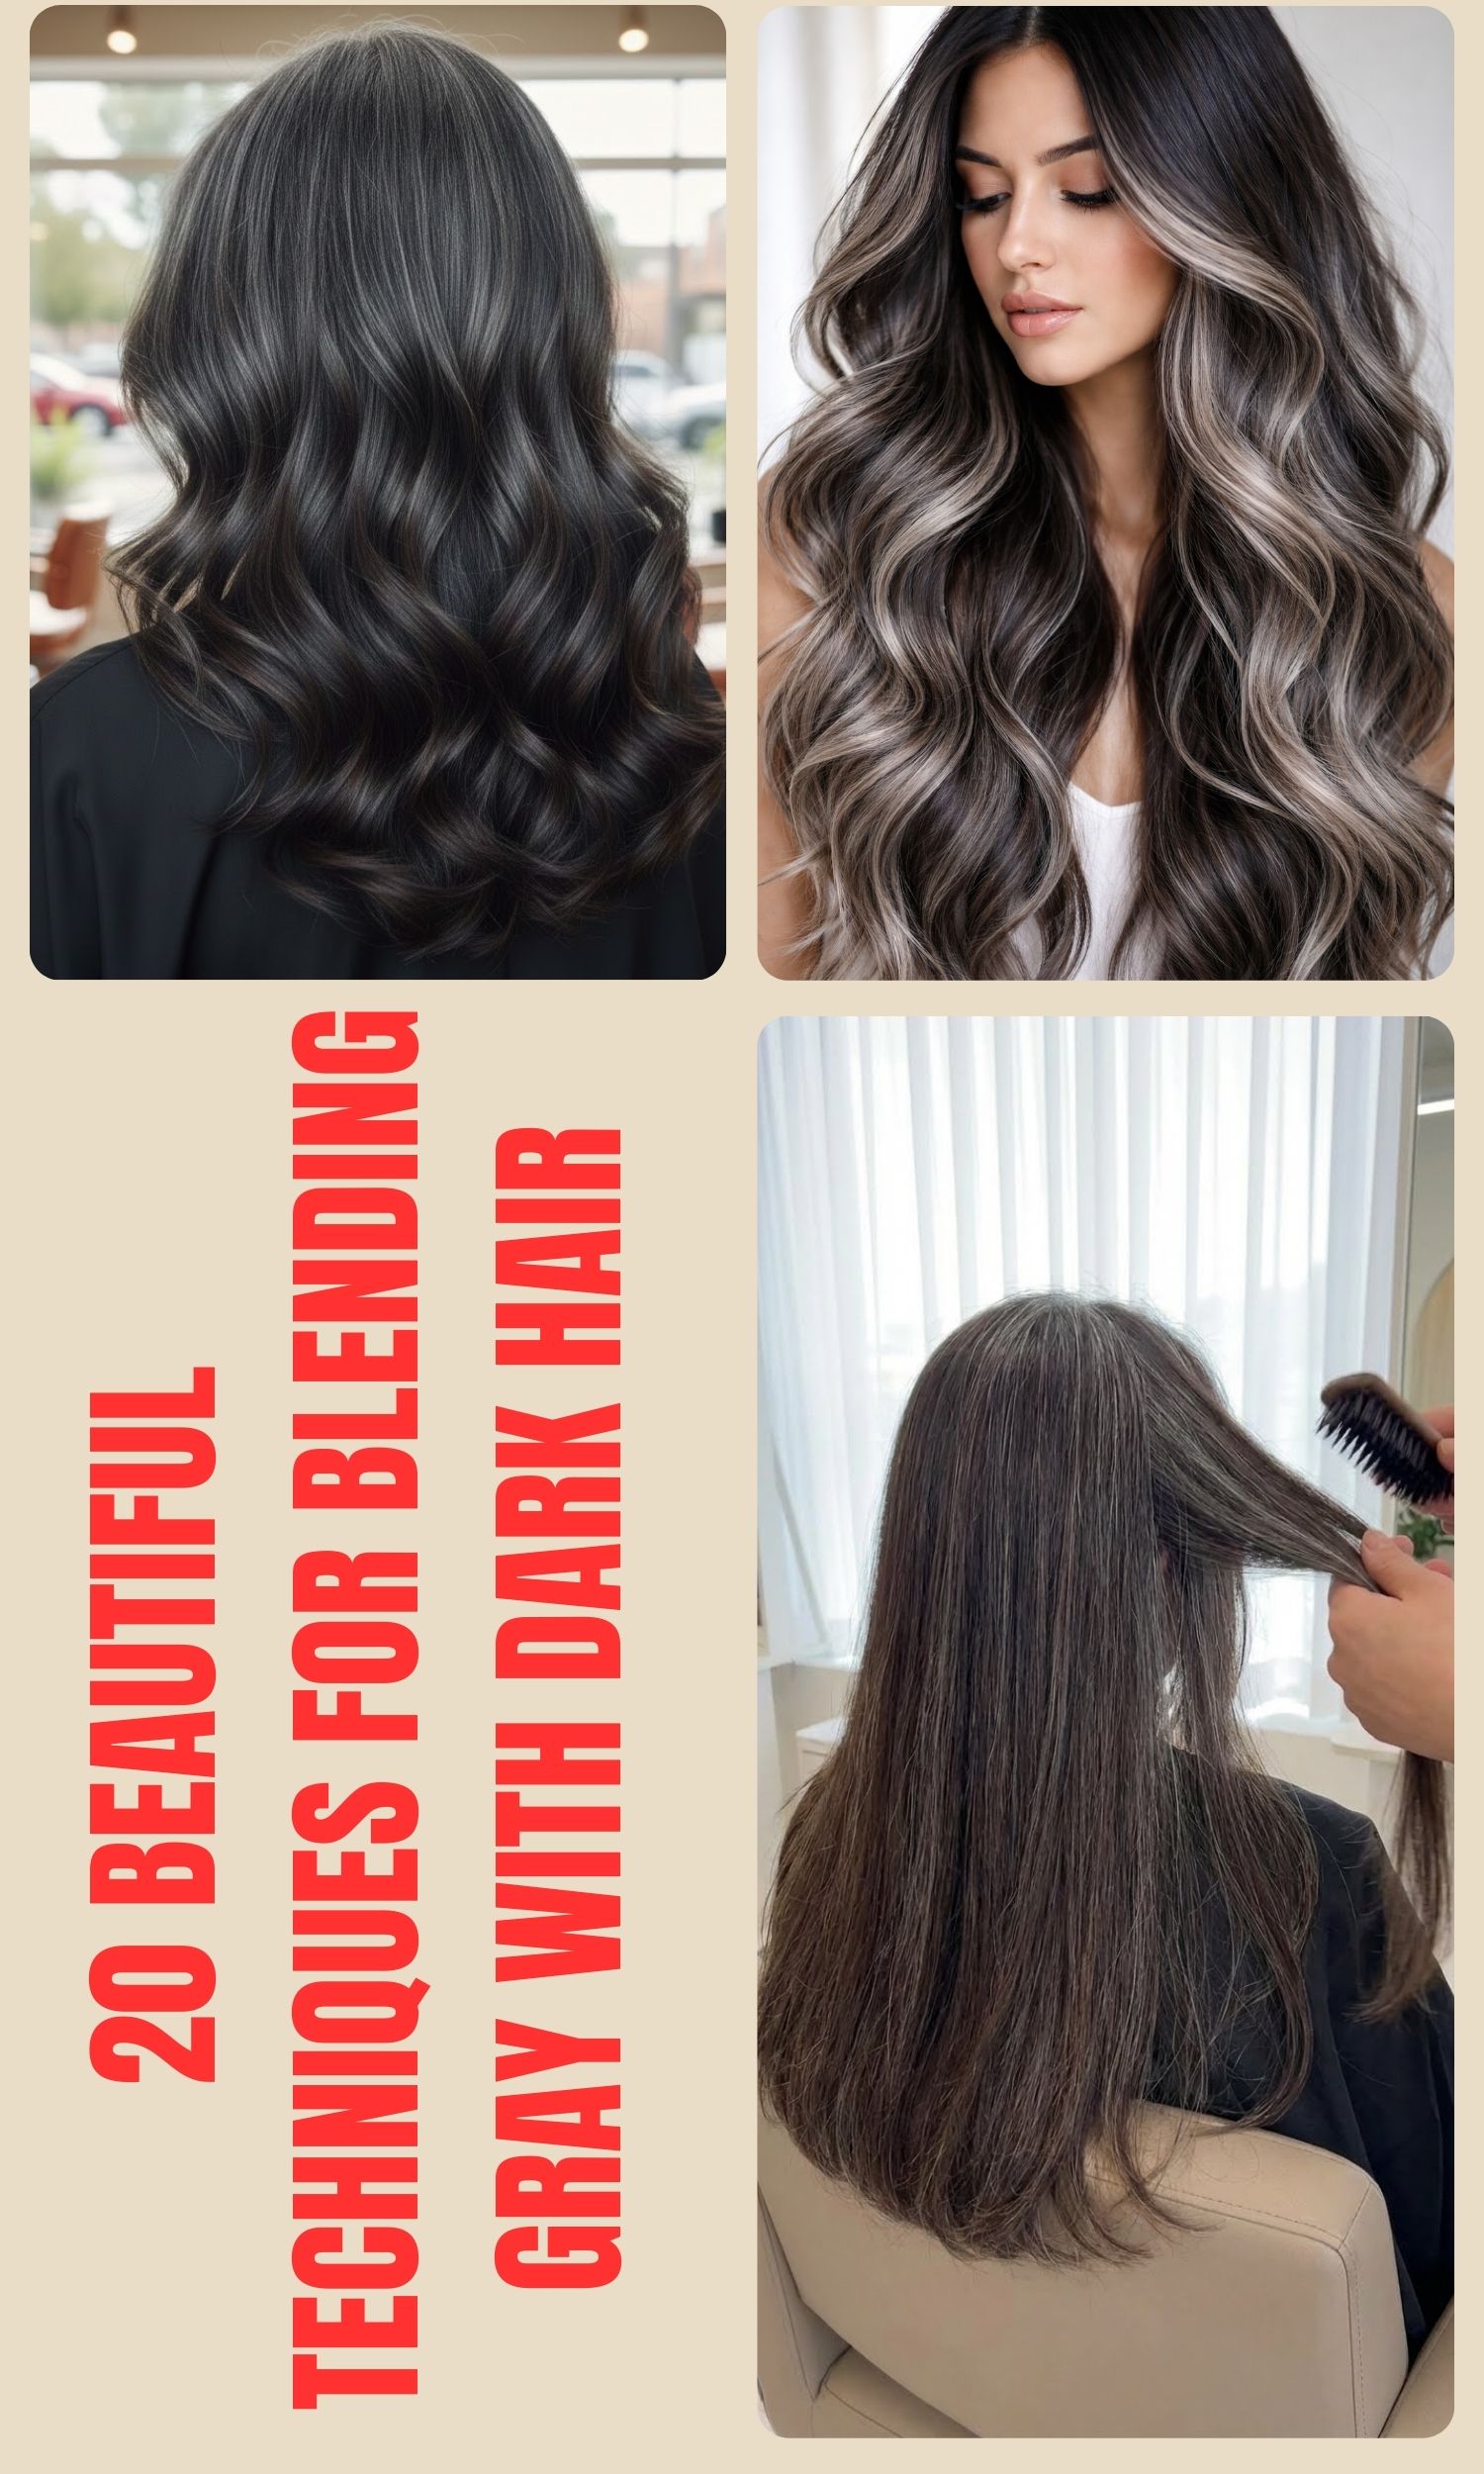
How to Trim Your Own Hair: Expert Tips for a Salon-Quality Finish
Trimming your own hair sounds scary. I know. The first time I tried it, I held my breath like I was defusing a bomb.
Spoiler? It went fine. And yours can too.
Cutting at home saves cash and time. No traffic. No waiting. No “just 1 inch” turning into 3.
And the best part? You stay in control. You also learn a skill that helps you look sharp between salon visits.
If you’re a total beginner, calm down. We all start there. A few tries, and you’ll be snipping like you own the place.
Think of it like gardening. Little trims. No drama. Just shape, clean lines, and happy hair.
✂️ Preparing Your Tools (hair tease-free)

You’ll want the right gear before you start. It makes a huge difference.
Must-haves:
- Hair-cutting scissors (not kitchen scissors, trust me)
- Comb (for clean parts)
- Spray bottle with water (damp hair is your best friend)
- Clips (to keep sections tidy)
- Mirrors (two if you can, for a full view)
- Towel or sheet (unless you enjoy cleaning hair confetti later)
Pro tip:
Pick scissors your hand loves. If they feel comfy, you’ll cut better.
🔍 Choosing The Right Scissors (aka the hero tool)

Hair scissors are sharp and safe for strands.
Home scissors are dull and mean. They can cause split ends and jagged cuts.
Go for scissors with smooth, ergonomic handles. Your fingers will thank you.
💡 Setting Up Your Space (no salon flashbacks—just good vibes)

Lighting matters more than we admit.
One time I cut my hair under a yellow bulb. I ended up missing spots like a Wi-Fi signal.
Do this instead:
- Sit by a window if it’s daytime.
- Use bright, white light if it’s night.
- Avoid yellow bulbs (they lie).
- Make sure no shadows cover your hair.
Keep tools close:
Have everything nearby so you don’t hunt mid-trim.
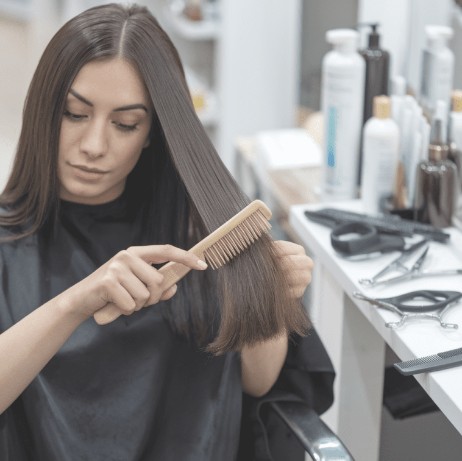
🫧 Washing & Drying (clean hair = clean cut)

Start with a mild shampoo. Rinse well. Condition the ends. Rinse again.
Towel dry gently. Don’t rub like you’re drying a car.
If you can, air dry. It keeps hair calm. If using a dryer, use low heat and keep it 6 inches away.
📌 Sectioning Your Hair (map before the trim trip)

Cutting without sections is like writing a test without reading the book. Risky.
Easy section plan:
- Detangle with a wide comb.
- Make a middle part (forehead → neck).
- Make a second part (ear → ear).
- You now have 4 sections.
Clip each part so nothing sneaks around.
✂️ Trimming Techniques (how you cut changes the whole look)

These two are perfect for home trims:
1. Point Cutting (for soft, natural ends)

- Hold scissors straight up.
- Make tiny snips into the ends.
- Great for layers.
- Adds bounce.
- Cuts bulk without chopping length.
2. Blunt Cutting (for straight, clean lines)

- Hold scissors flat (sideways).
- Cut straight across.
- Best on damp hair.
- Good for bobs and basic trims.
Trimming for Your Hair Type

Trimming your own hair scared me the first time. I pictured major oops. Then I learned each hair type just needs its own small plan. Once you know your hair’s behavior, it actually gets fun.
Curly Hair
Curly hair shrinks. A lot. I once trimmed it wet and gasped when it dried. Now I trim dry. I take one curl, snip the tip, smile, and move on. Slow beats sorry here.
Quick curly steps:
- Detangle first with a wide comb.
- Trim when hair is dry.
- Cut curl by curl, just the tip.
- Trim less than you think.
Straight Hair
Straight hair is calmer. It shows every uneven bit, so sections are your BFF. I clip, cut tiny bits, and check in the mirror like I’m leveling frosting on a cake.
Quick straight steps:
- Start clean and dry.
- Clip hair into small sections.
- Use point cutting to soften ends.
- Cut slow, check often.
Blending and Soft Layers

Blending is how you dodge sharp lines. Layers give life, like ripples in water. Both take practice, but they change everything. When I learned point cutting, my trims stopped looking boxy.
Easy blend moves:
- Point cutting: Tiny snips, scissors up and down.
- Razor comb: Light, gentle sweeps at the ends.
- Slide cutting: Soft glide down strands, barely open scissors.
Layer plan (super simple):
- Clip top half up.
- Hold a thin section at 45°.
- Trim the ends lightly.
- Drop top sections and repeat.
Cut less. You can always trim more.
Finishing Touches (The Glow-Up Stage)

This part is my fave. It’s like adding sprinkles at the end. You fix tiny uneven ends and make the cut look clean and fresh. I texturize softly so the hair flows, not flops.
Texturizing tips:

- Work in tiny sections.
- Angle the scissors.
- Make micro snips.
- Stop, look, repeat only if needed.
Smoothing tip:

Style hair as you wear it. Spot any long bits. Trim those bits carefully.
Think of it like smoothing icing on a dessert. Same vibe.
Aftercare: Keep It Snatched
Aftercare keeps your trim sharp and your hair happy. I learned this when my ends split weeks after a home cut. Trims live longer when you treat them nice.
Keep your trim fresh:
- Wash gently, condition well.
- Use heat spray if styling.
- Comb soft, no tug-of-war.
- Moisture is magic for all hair types.
When to Trim Again?
Hair grows about ½ inch a month. I mark 6–8 weeks on my mental calendar. Split ends or lost shape means it’s time. If it feels heavy or dull, a tiny dusting cut brings back shine.