How to Create a Messy Bun: 8 Simple Steps for a Effortlessly Perfect Style
Creating a messy bun might look tricky from the outside, but once you try it, you’ll see how easy it really is. It’s one of those hairstyles that works on busy mornings, lazy days, or even when you want a soft, romantic look for a special moment.
If you’ve ever wondered how people get that cute, effortless bun that looks both relaxed and stylish, you’re in the perfect place.
Whether you’re running late for work or getting ready for a night out, the messy bun is always a safe choice. It’s quick, it’s cute, and it works on almost every hair type.
In this guide, I’ll walk you through eight simple steps to nail the perfect messy bun. No stress. No fuss. Just a pretty, easy look you can do in minutes.
So, say goodbye to those “bad hair day” blues and hello to a style that never lets you down. Ready? Let’s jump in.
Introduction to Messy Buns
A messy bun is one of the most flexible hairstyles you can ever learn. It’s the perfect mix of style and comfort. You can wear it at home, at work, or even at a wedding if you add a cute accessory.
This look can transform how you feel in seconds. A little twist, a little fluff, and boom — you look put-together without trying too hard.
Let’s see why this hairstyle deserves a spot in your routine.
Why Choose a Messy Bun?
A messy bun comes with many perks:
- Super quick — You can finish it in minutes.
- Works for many hair types — Curly, straight, thick, or thin.
- Comfortable — Keeps your hair off your neck and face.
- Chic and effortless — Looks cute without trying too hard.
When to Wear a Messy Bun
Here’s a simple table to help you choose the right moment:
| Occasion | Why It Works Well |
|---|---|
| Casual outings | Easy and stylish for everyday plans. |
| Workouts | Holds your hair in place while you move. |
| Formal events | Looks elegant when paired with accessories. |
| Office | Clean and relaxed for a busy workday. |
In the next part, I’ll show you how to craft your perfect messy bun in eight simple steps.
Gather Your Supplies
Before you start, collect all the tools you’ll need. Trust me, stopping mid-bun to hunt for a bobby pin is not fun. Once you have everything near you, the whole process feels smooth.
Essential Tools
These are the basics:
- Hairbrush or comb — For a quick detangle.
- Hair ties — To hold your bun firmly.
- Bobby pins — For those little loose strands.
- Hair spray — To keep the style in place.
Optional Accessories
You don’t need these, but they can add a cute touch:
- Hair donut — Great for volume.
- Decorative pins — For sparkle.
- Headbands — Keeps hair off your face.
- Texturizing spray — Adds grip and body.
With these tools ready, you’re all set for the fun part.
Prepare Your Hair
A great messy bun starts with good prep. This step helps your bun stay in place and look naturally cute.
Clean or Second-Day Hair?
Both work well, and each has a little advantage:
| Hair Condition | Why It Helps |
|---|---|
| Clean hair | Smooth base, great for a neater bun. |
| Second-day hair | Natural grip, perfect for a wild, tousled look. |
If your hair is too clean and soft, use a little dry shampoo for texture. If it’s already a bit messy, just brush through it lightly.
Add Some Texture
Texture makes your hair easier to shape and keeps the bun from slipping.
Here’s what you can do:
- Apply a texturizing spray or dry shampoo.
- Spread it evenly from roots to ends.
- Scrunch your hair with your hands for extra body.
If your hair is naturally fine, use a little mousse on damp hair and blow-dry it. It gives more lift and makes your bun fuller.
The goal is simple: hair that’s not too smooth, not too frizzy — just right for holding shape.
Step 1: Brush and Detangle

Start by brushing your hair to get rid of knots. This makes everything easier.
A messy bun looks best when it’s controlled chaos — not actual chaos. Tangles can cause breakage or make your bun look uneven. So, take a minute to brush your hair gently.
Why Detangling Matters
- Reduces hair breakage
- Makes styling smoother
- Helps natural oils move through your hair
- Gives a cleaner base to work with
Best Tools for This Step
Use tools that are kind to your hair:
- Wide-tooth comb
- Detangling brush
- Boar bristle brush for shine
Choose the one you’re most comfortable with. Your hair will thank you.
Step 2: Create a High Ponytail

A high ponytail is the base of most messy buns. It gives height and volume, making your bun look fuller and cute.
Position Your Ponytail
- Gather your hair at the crown of your head.
- Use your fingers to smooth it.
- Tilt your head slightly back to get the height right.
- Leave a few soft strands around your face if you want a relaxed look.
Secure Your Ponytail
- Hold the ponytail tight with one hand.
- Use the other hand to wrap your hair tie around it.
- Make sure it’s snug so your bun doesn’t fall.
- If you have thick hair, double up with two hair ties for better hold.
Step 3: Tease for Volume

If you want your messy bun to look full and airy, teasing is your secret trick. Think of it like adding a soft cushion under your bun. It gives your hair that lived-in, effortless vibe we all love.
How to Tease Your Hair
Start with dry hair. Lift the top layer and clip it out of the way. Take a fine-tooth comb and gently backcomb the roots. Hold each section firm and move the comb from the ends toward the scalp. Keep your strokes light so you don’t damage your hair.
Easy Volume Tips
- Use a little volumizing spray at the roots.
- Let it dry before teasing.
- Focus on the crown area because that’s where you need the most lift.
After teasing, smooth the top layer with your hand or a soft brush. You’re not trying to hide the volume—just the teasing marks. A tiny touch is enough.
Step 4: Twist and Wrap

This is the part where your messy bun really takes shape. It’s like shaping dough into a little round roll—simple, soft, and fun.
Twisting the Hair
Gather your hair into a ponytail. Use your hands to smooth it a bit, but don’t stress about perfection. Hold the base with one hand. With the other hand, twist the ponytail from top to bottom. A tight twist helps the bun stay put.
Forming the Bun
Wrap the twisted ponytail around its base in a circle. Tuck the ends under the bun. Use bobby pins to secure everything. If it feels tight and steady, you’re good.
Want that messy, cute finish? Gently pull a few strands loose. Let small pieces fall around your face. It adds softness and charm.
Step 5: Secure the Bun

Now it’s time to lock everything in. Securing your bun the right way makes sure it lasts all day—even when you move a lot.
You can use a hair tie or bobby pins. Both work great. It all depends on your comfort and hair type.
Using a Hair Tie
- Wrap the tie around the bun.
- Loop it twice for extra grip.
- Choose a textured or thick tie if your hair is slippery.
Using Bobby Pins
- Slide a pin into the base of the bun.
- Add more around the edges.
- Crisscross a couple of pins if you need stronger hold.
Here’s a quick look:
| Hair Ties | Bobby Pins |
|---|---|
| Fast and easy | Flexible and adjustable |
| Great for thick hair | Works for all hair types |
| Less shaping control | Helps perfect the bun shape |
Step 6: Pull and Loosen

This is the “magic moment.” A simple bun turns into a messy bun with just a few gentle pulls. Think of it like fluffing a pillow—soft, light, and natural.
Creating the Messy Look
Once the bun is secure, tug lightly on the top and sides. Don’t pull too hard—just enough to add softness. Use your fingers to fluff the bun. Aim for an imperfect look. Messy makes it cute.
Adjusting for Comfort
Your bun should feel comfy. If it’s too tight, loosen it a little. Fix any pins that poke your scalp. Your hair should feel light, not stiff or painful.
Step 7: Add Finishing Touches

This is your last little step before showing off your bun. These small touches make a big difference.
Hairspray and Products
Hold your hairspray about a hand’s length from your head. Give your bun a soft mist. This helps it stay in place without making it crunchy.
If you want a natural finish, use a texturizing spray instead. It gives that soft, beachy feel. You can also add a tiny bit of shine serum to the ends for a healthy glow.
Adding Accessories
Accessories bring personality to your messy bun. Try:
- Sparkly bobby pins
- A cute headband
- A soft scrunchie
- Small decorative clips
These tiny details can turn your simple bun into a whole look.
Step 8: Style and Personalize

This step is all about you. Your messy bun can be soft, bold, cute, or classy—whatever fits your mood.
Fun Custom Touches
- Add a scarf or ribbon.
- Pull out face-framing strands.
- Tease the top lightly for more height.
- Use texturizing spray for a fuller look.
Trend Ideas
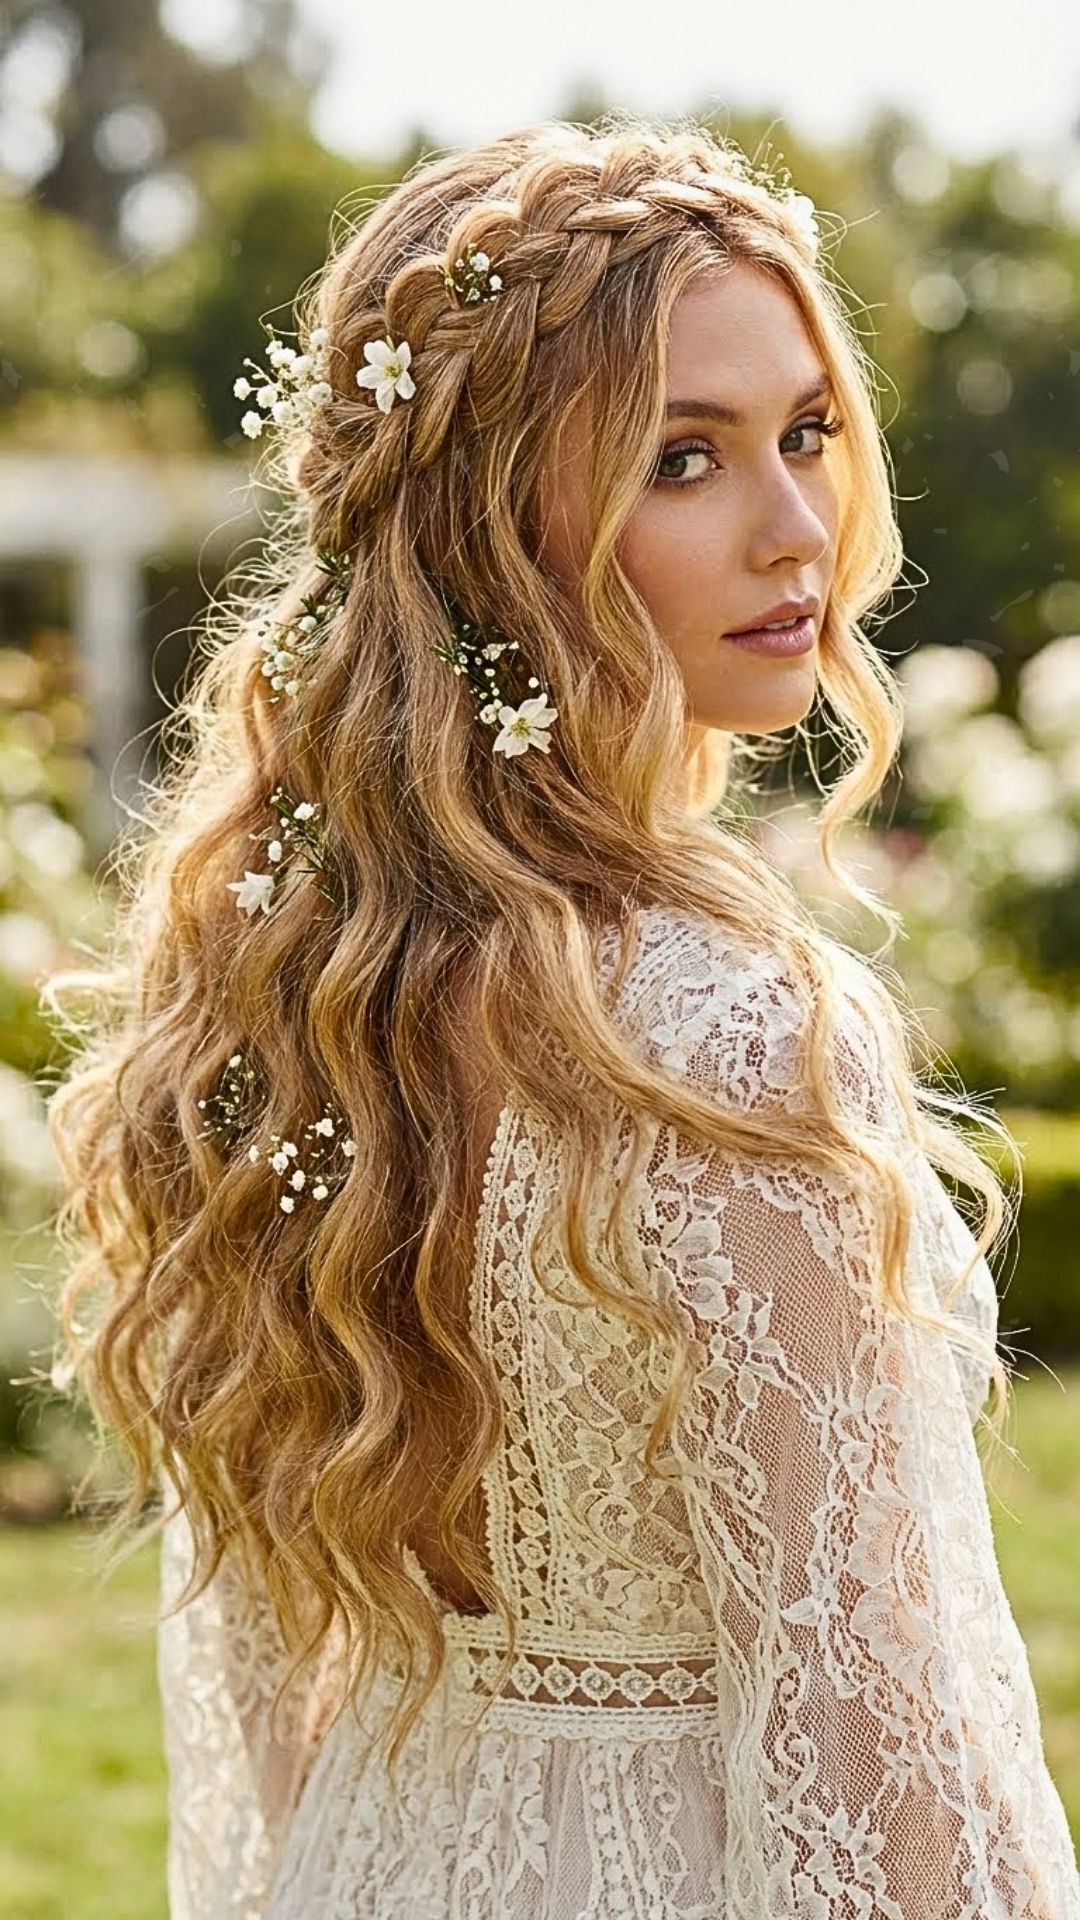
- Boho vibes: Add a small braid or tiny flowers.
- Sleek look: Smooth baby hairs with a dab of gel.
- Color fun: Try temporary color chalk for weekends or festivals.
Here’s a quick guide:
| Customization | Details |
|---|---|
| Accessories | Pins, scarves, headbands |
| Products | Texturizing spray, gel |
| Techniques | Teasing, pulling strands |
Your bun should feel like you—simple, stylish, and effortless.
Maintaining Your Messy Bun
A few tiny habits can keep your bun looking great all day.
Daily Care Tips
- Wear a silk scarf at night to reduce frizz.
- Avoid touching your bun too much.
- Use dry shampoo at the roots for volume.
- Pin down loose pieces if they fall.
Refreshing the Look
- Loosen and retwist the bun to bring back shape.
- Tease the crown a bit if it feels flat.
- Mist with water to calm flyaways.
- Add a small amount of mousse for texture.
These small steps keep your bun fresh, fluffy, and cute.