No Salon, No Problem: How to Master the Perfect Blowout at Home
1. The Blowout High (And the Inevitable Come-Down)
You know the feeling. You step out of the salon with hair that moves. It swishes. It flips. It has main-character energy. You’re already planning dramatic slow-motion walks and unnecessary hair tosses.
Then reality taps you on the shoulder. That blowout? It’ll look great for maybe two days. Three if the hair gods are kind. And let’s be honest, booking a salon visit every 72 hours would absolutely destroy your schedule and your bank account.
So what’s the real solution? Learning how to do a salon-level blowout at home. The kind that makes you feel red-carpet ready on a random Tuesday.
2. Why At-Home Blowouts Feel Impossible (At First)
If you’ve ever tried copying your stylist, you already know the struggle. They move fast. They never tangle the brush. Their arms never get tired. Meanwhile, you’re sweating, your arms are shaking, and somehow there’s still a damp patch at the back of your head.
I’ve been there. Many times. At one point, I genuinely thought professional blowouts were a skill you were either born with or never allowed to master. Like cutting your own bangs or doing gel nails at home.
Spoiler alert: it is learnable. You just need the right prep, the right steps, and a little patience.
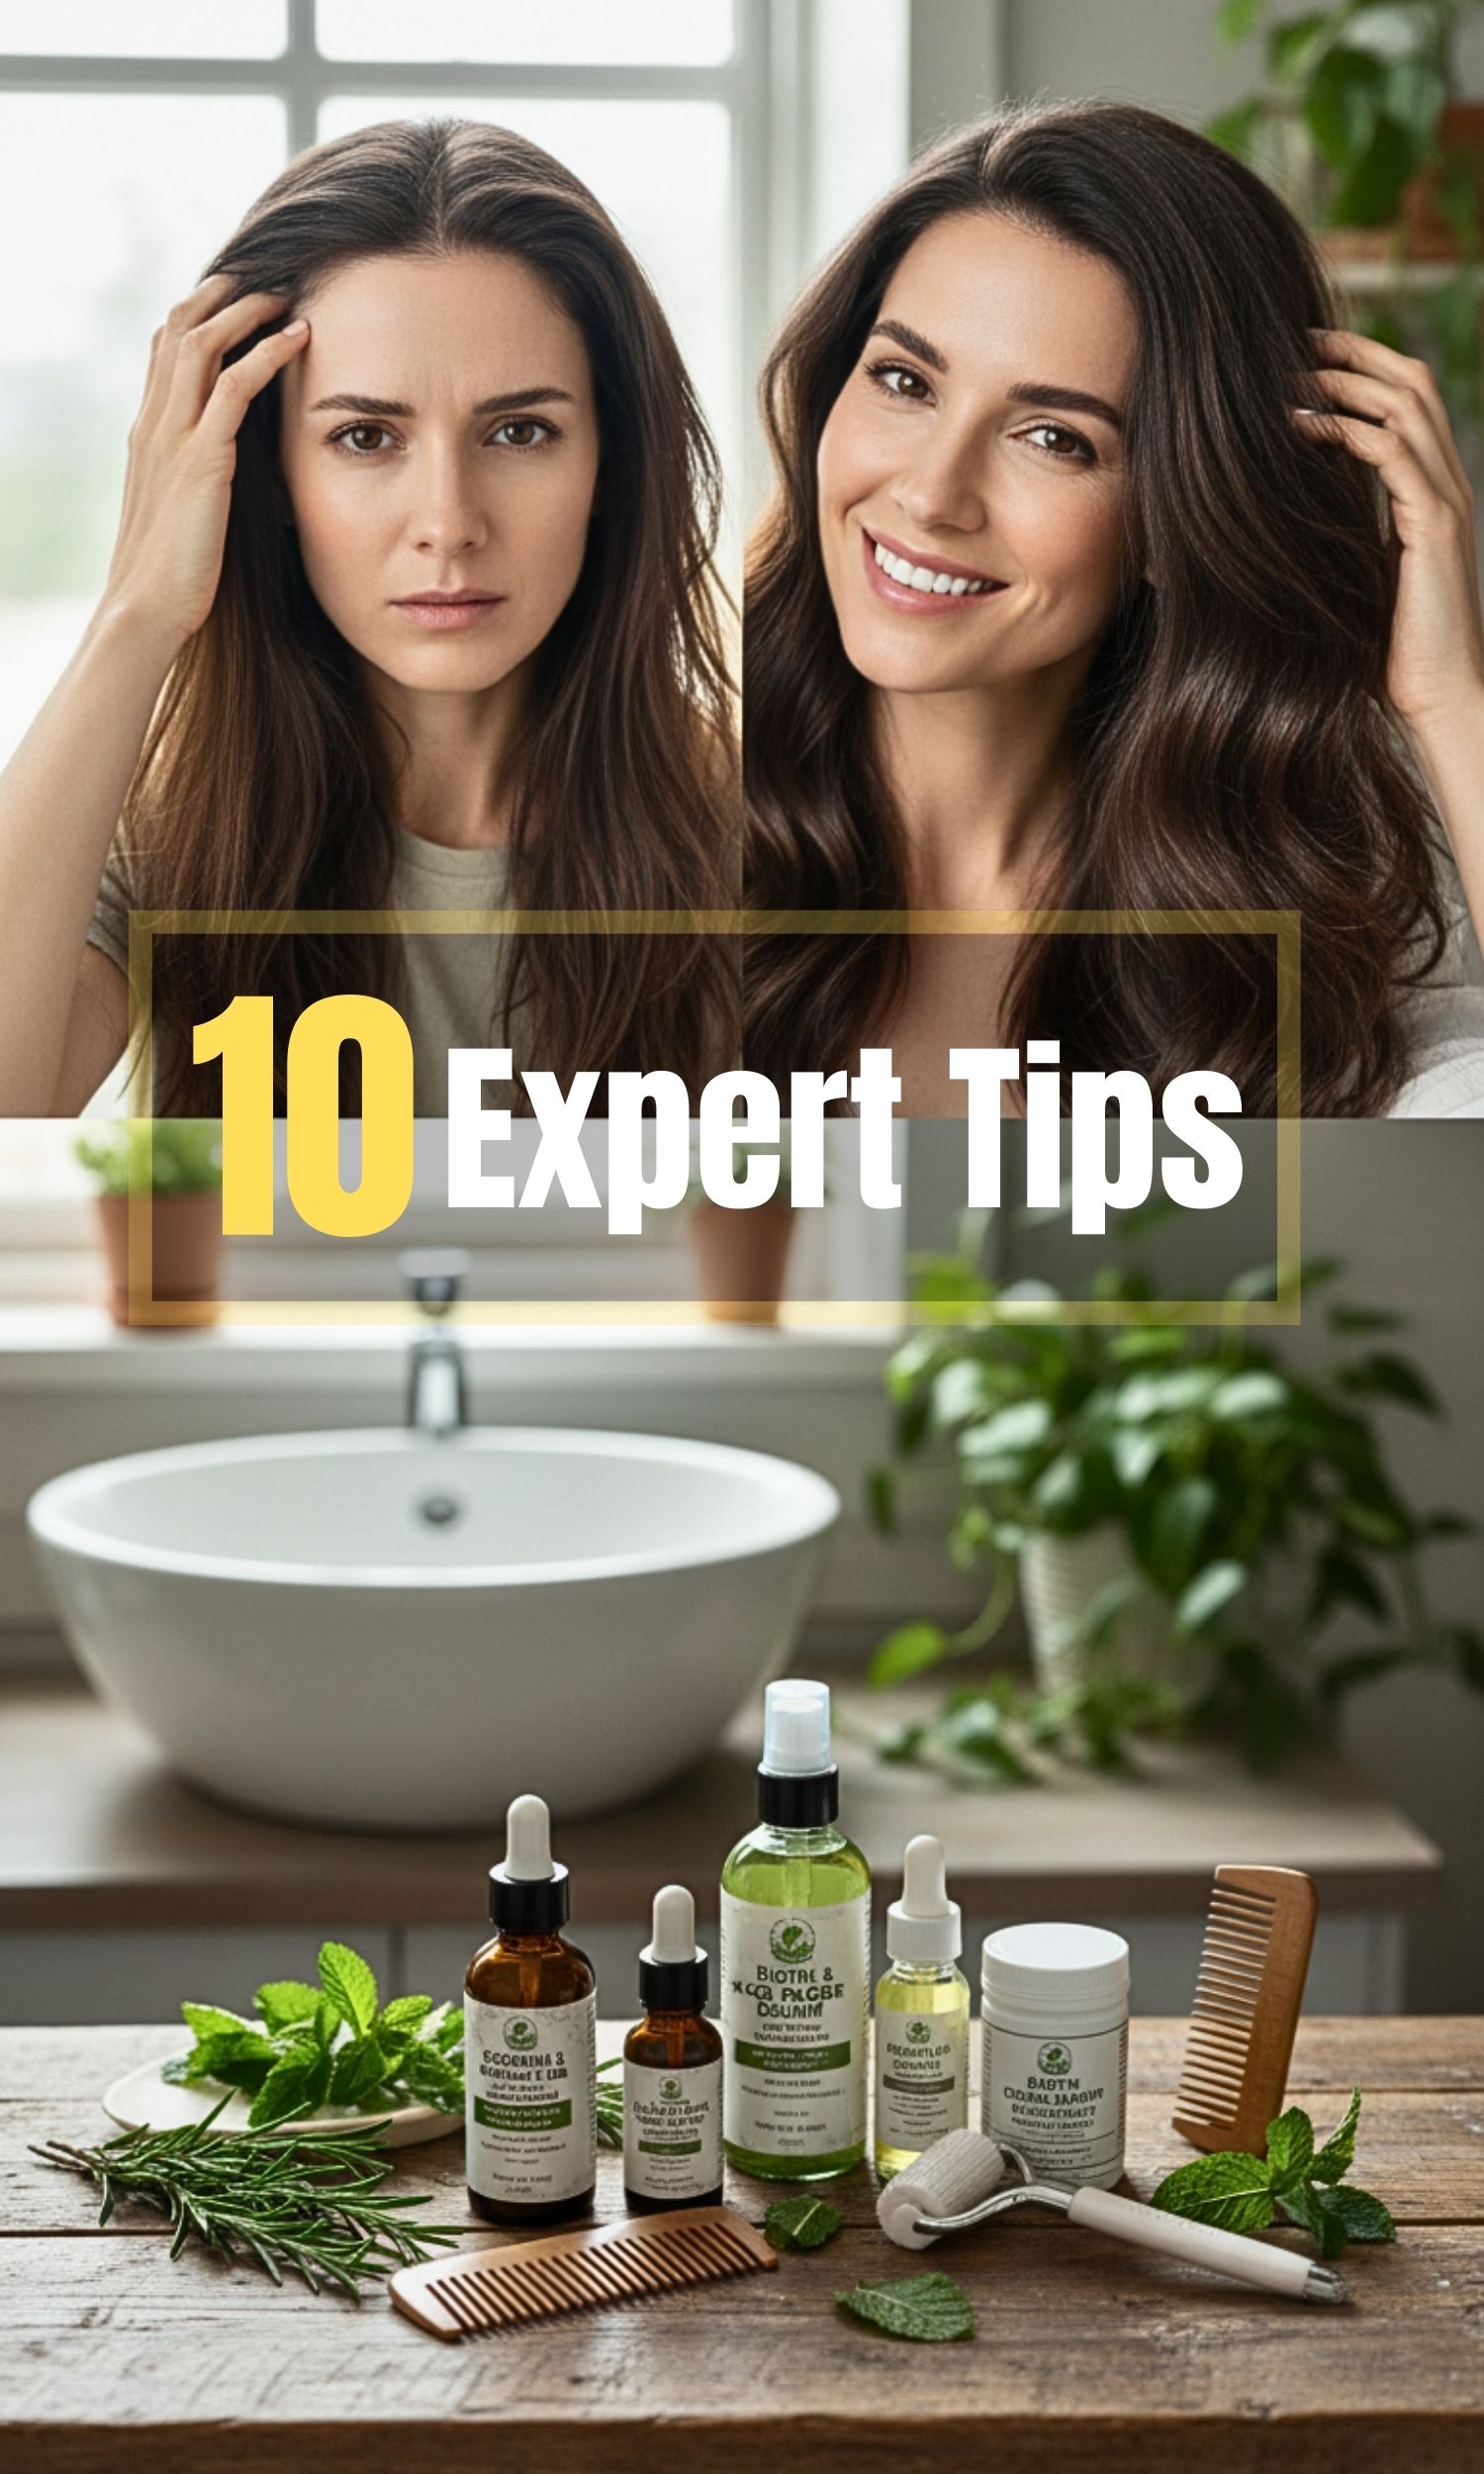
3. What You’ll Need Before You Start
Before we get into the fun part, let’s make sure you’re set up properly. A good blowout starts way before you turn on the dryer.
Here’s your no-stress checklist:
- A good shampoo and conditioner
- A clean, dry towel
- A detangling brush or wide-tooth comb
- Heat protectant
- Volumizing mousse
- Sectioning clips or silk scrunchies
- A round brush
- A blow dryer with a concentrator nozzle
- A lightweight hair oil
You don’t need luxury everything. You just need tools that work with your hair, not against it.
4. Step One: Wash and Condition With Intention
Every great blowout starts in the shower. This part matters more than most people realize.
Use a shampoo made for your hair type. If your hair is thick, dry, or frizzy, look for ingredients like coconut oil, aloe vera, or shea butter. Try to avoid heavy sulfates and sodium chloride if you can.
Those ingredients can make hair feel dry and rough. Not exactly what you want when you’re chasing soft, shiny results.
5. Step Two: Condition the Mid-Lengths and Ends
After shampooing, apply conditioner from the mid-lengths to the ends. Don’t pile it on your roots. Let it sit for a few minutes while you do literally anything else in the shower.
Rinse it out gently with lukewarm water. Hot water feels nice, but it can mess with your hair’s moisture and shine. Your future blowout will thank you.
Not everyone needs conditioner every wash. Some people do. Some don’t. Test it and see what your hair loves.
6. Step Three: Rinse Smarter, Not Hotter
This step sounds small, but it’s huge. Very hot water can open the hair cuticle too much and dry out the keratin inside your hair.
That leads to frizz, breakage, and dullness. So turn the temperature down just a little. Think warm, not steamy.
It’s a tiny habit that makes a big difference.
7. Step Four: Dry Your Hair Without Heat (For Now)
I know it sounds backward, but hear me out.
Before you even touch your blow dryer, gently pat your hair with a towel. Don’t rub. Don’t twist. Just squeeze out excess water until your hair is damp, not dripping.
This cuts down your heat time later. Less heat equals healthier hair. Healthier hair equals a better blowout.
8. Step Five: Detangle Like You Actually Care
Wet hair is fragile. This is not the time to rush.
Use a detangling brush or a wide-tooth comb. Start at the ends and slowly work your way up. This avoids pulling, snapping, and unnecessary breakage.
It takes an extra minute. It’s worth it.
9. Step Six: Protect and Prep Your Hair
Before heat touches your hair, apply a heat protectant. Spray, cream, or serum is fine. Just make sure it feels light and nourishing, not greasy.
Then add a golf-ball-sized amount of volumizing mousse to your roots. This helps with lift, hold, and overall polish.
This step is where “home blowout” starts turning into “did you just leave a salon?”
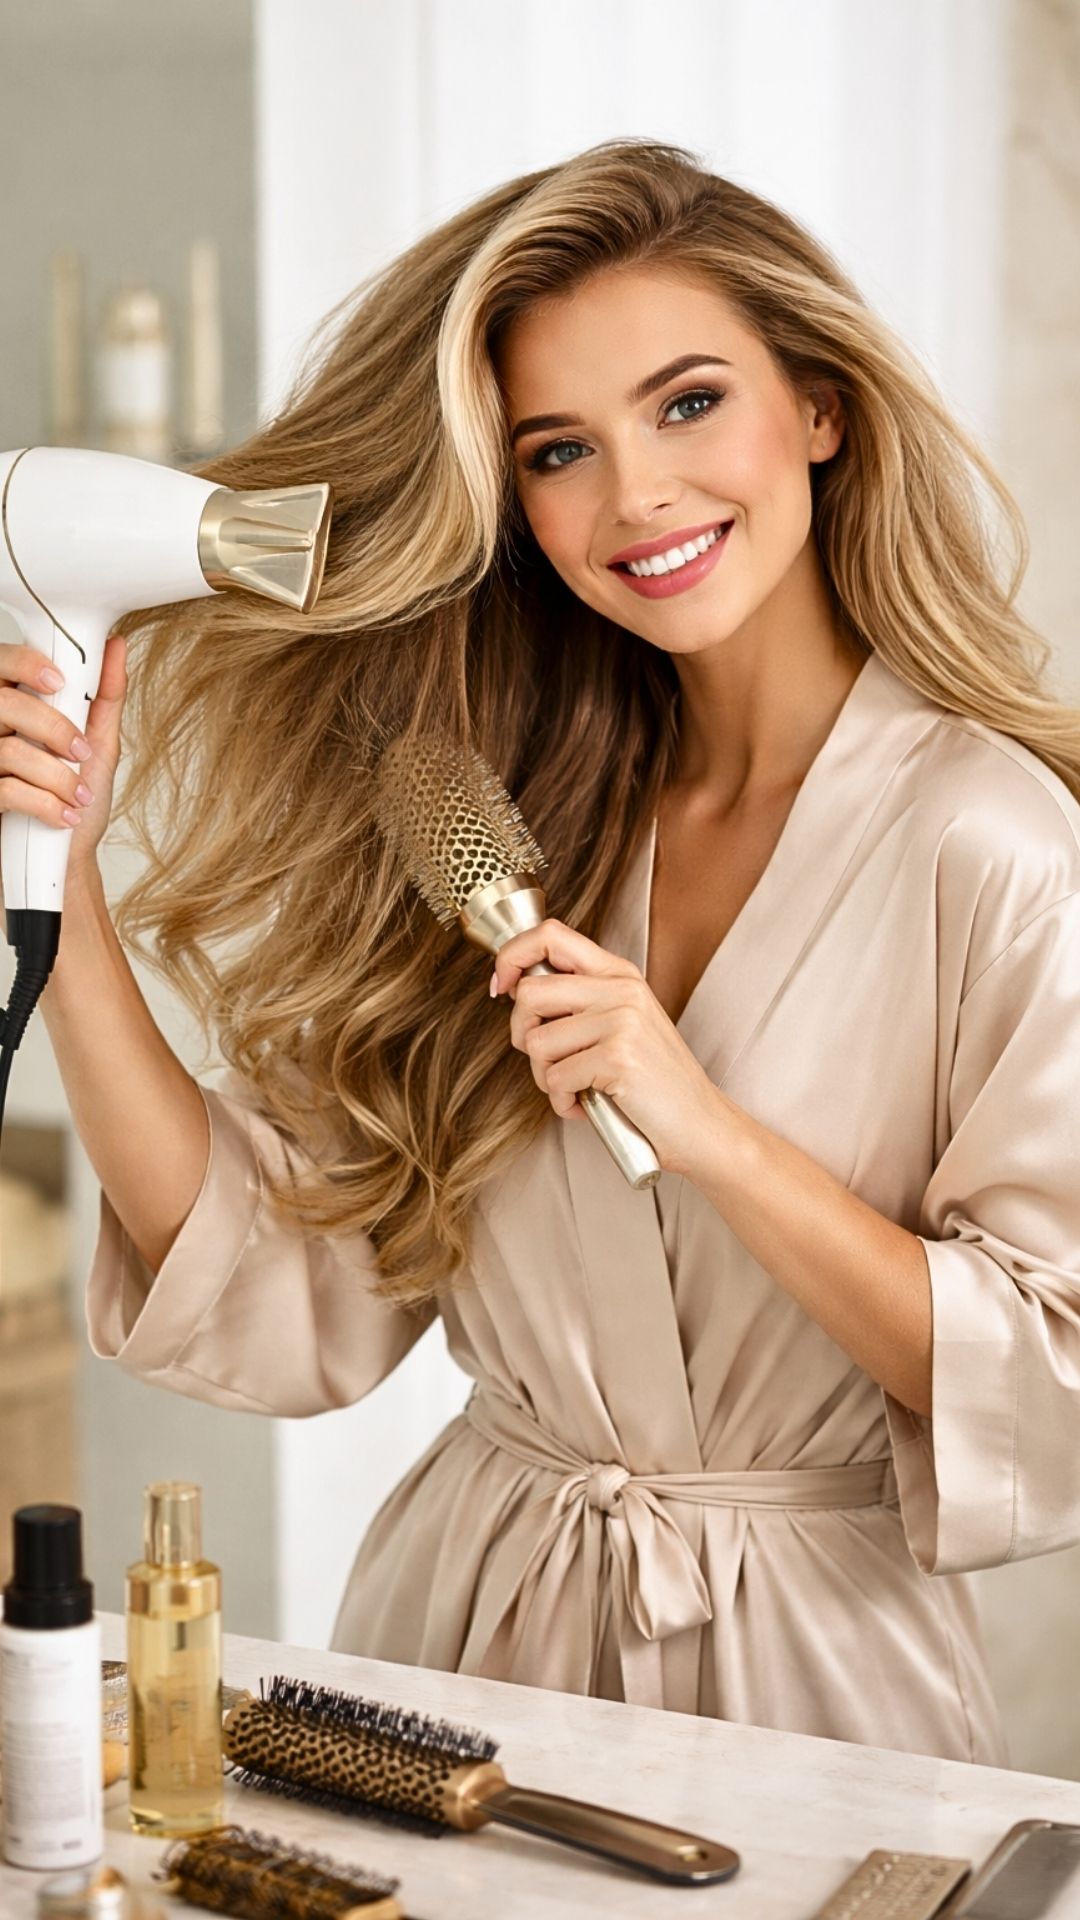
10. Step Seven: Start Drying the Right Way
Now you can grab your blow dryer.
Set it to low or medium heat and rough-dry your hair until it’s about 80% dry. Use your fingers, not a brush. This reduces tangles and limits damage.
Once your hair is mostly dry, it’s time to get precise.
11. How to Blowout Long Hair Without Losing Your Mind
If you have long hair, sectioning is non-negotiable.
Split your hair just above the ears and clip the top half away. Work in small sections that are no wider than your round brush.
Place the brush under the hair at the root. Aim the nozzle diagonally downward. Add gentle tension and lift slightly as you move toward the ends.
Lift for volume. Curl the brush under at the ends for that soft, bouncy finish. Think effortless ‘90s energy.
12. How to Blowout Curtain Bangs and Front Pieces
These pieces frame your face, so take your time here.
Brush the section forward first. Then place the round brush on top at the root. Flip the hair back over the brush and dry upward and back.
It feels wrong at first. Trust the process.
This creates soft volume that falls perfectly once it cools.
13. How to Blowout Layered Hair for Definition
Layers shine when you section properly. Follow the natural start and end of each layer instead of grabbing random pieces.
Here’s a simple trick that works:
- Flick one layer inward
- Flick the next layer outward
Alternating directions adds bounce and separation without trying too hard.
14. How to Make Your Blowout Last Longer
Once you’re done, don’t rush outside. Let your hair cool fully. Cooling helps set the shape.
Finish with a pea-sized amount of hair oil through the mid-lengths and ends. This locks in moisture and adds shine without weighing hair down.