The Hidden Secret to Perfect Tape-In Hair Extensions
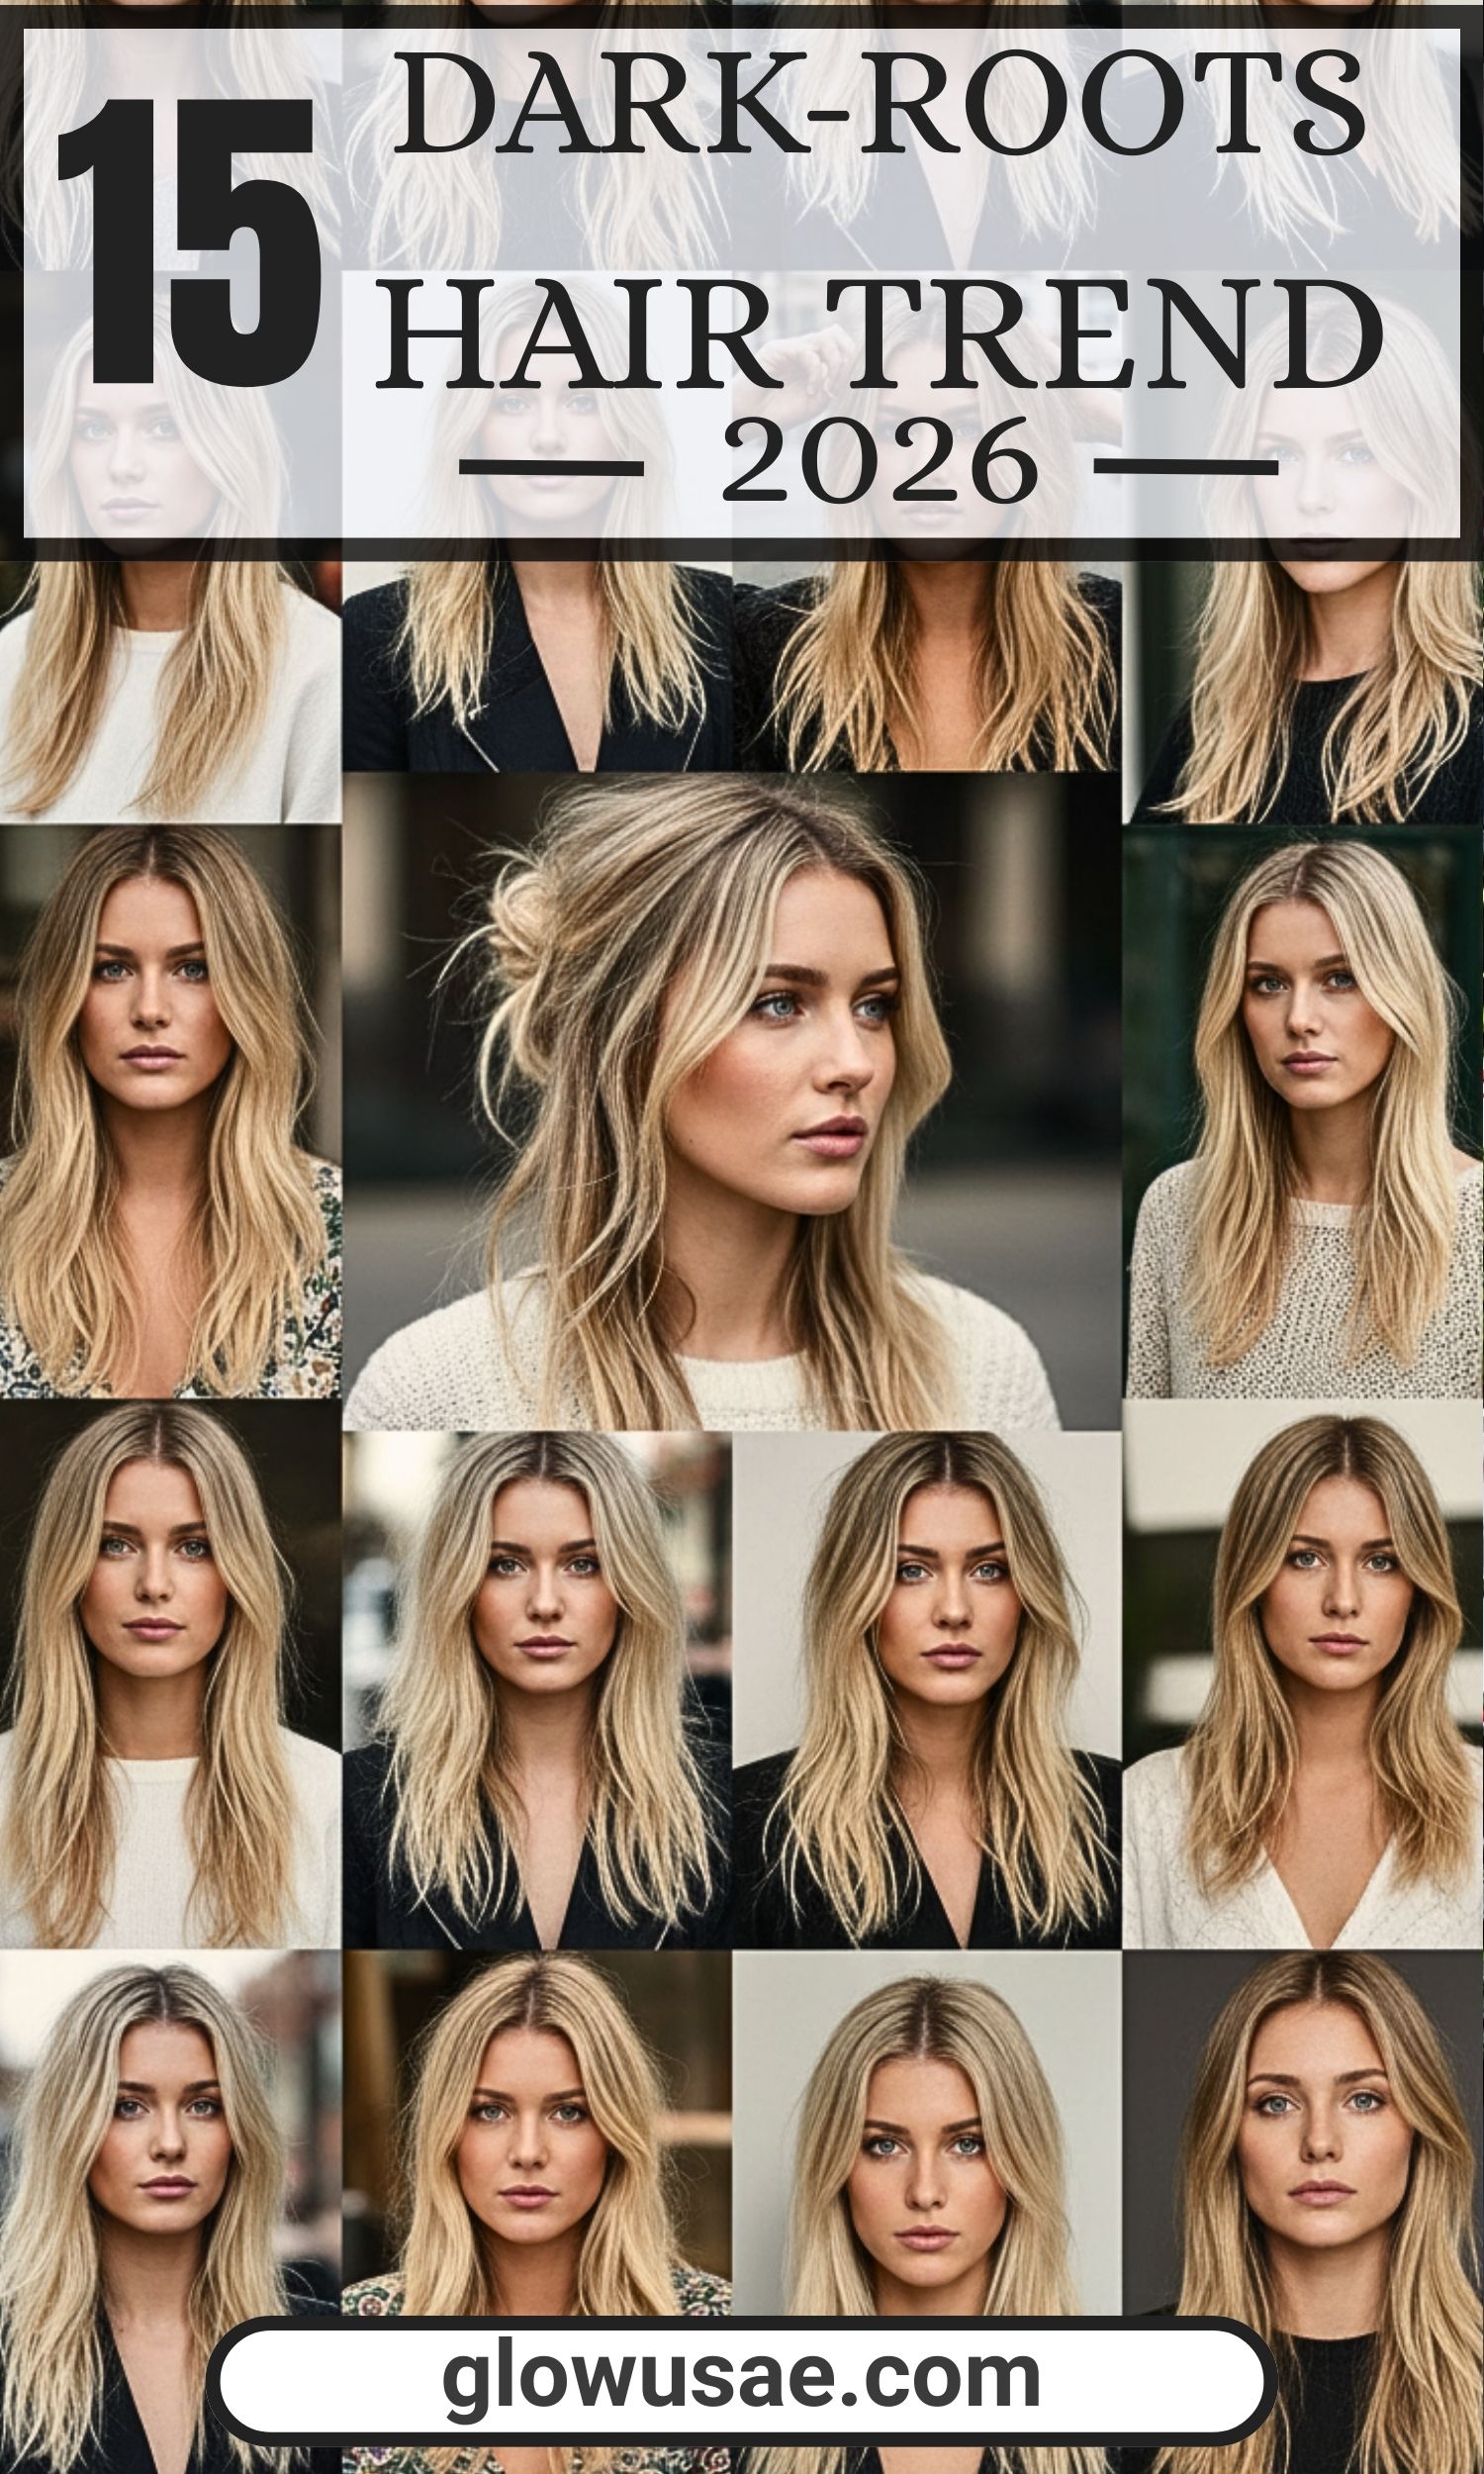
1. Extensions 600 x 450 — A Real Talk Intro to Tape-Ins
I’ll be honest — I get bored with my hair fast. One month I want a big chop. Next month I want bright color. Then I panic and miss my old length. If you’re like me, tape-in extensions feel like a safety net. You can take risks and still sleep at night knowing you’ve got a backup plan.
Tape-ins are one of the easiest ways to try extensions without turning your routine upside down. They don’t demand daily work like clip-ins. You just visit the salon for move-ups, and you’re good. It’s low drama, low stress, and high reward.
If you’re thinking about getting them, there are a few things you should know first. Let’s walk through it like we’re chatting across the salon chair.
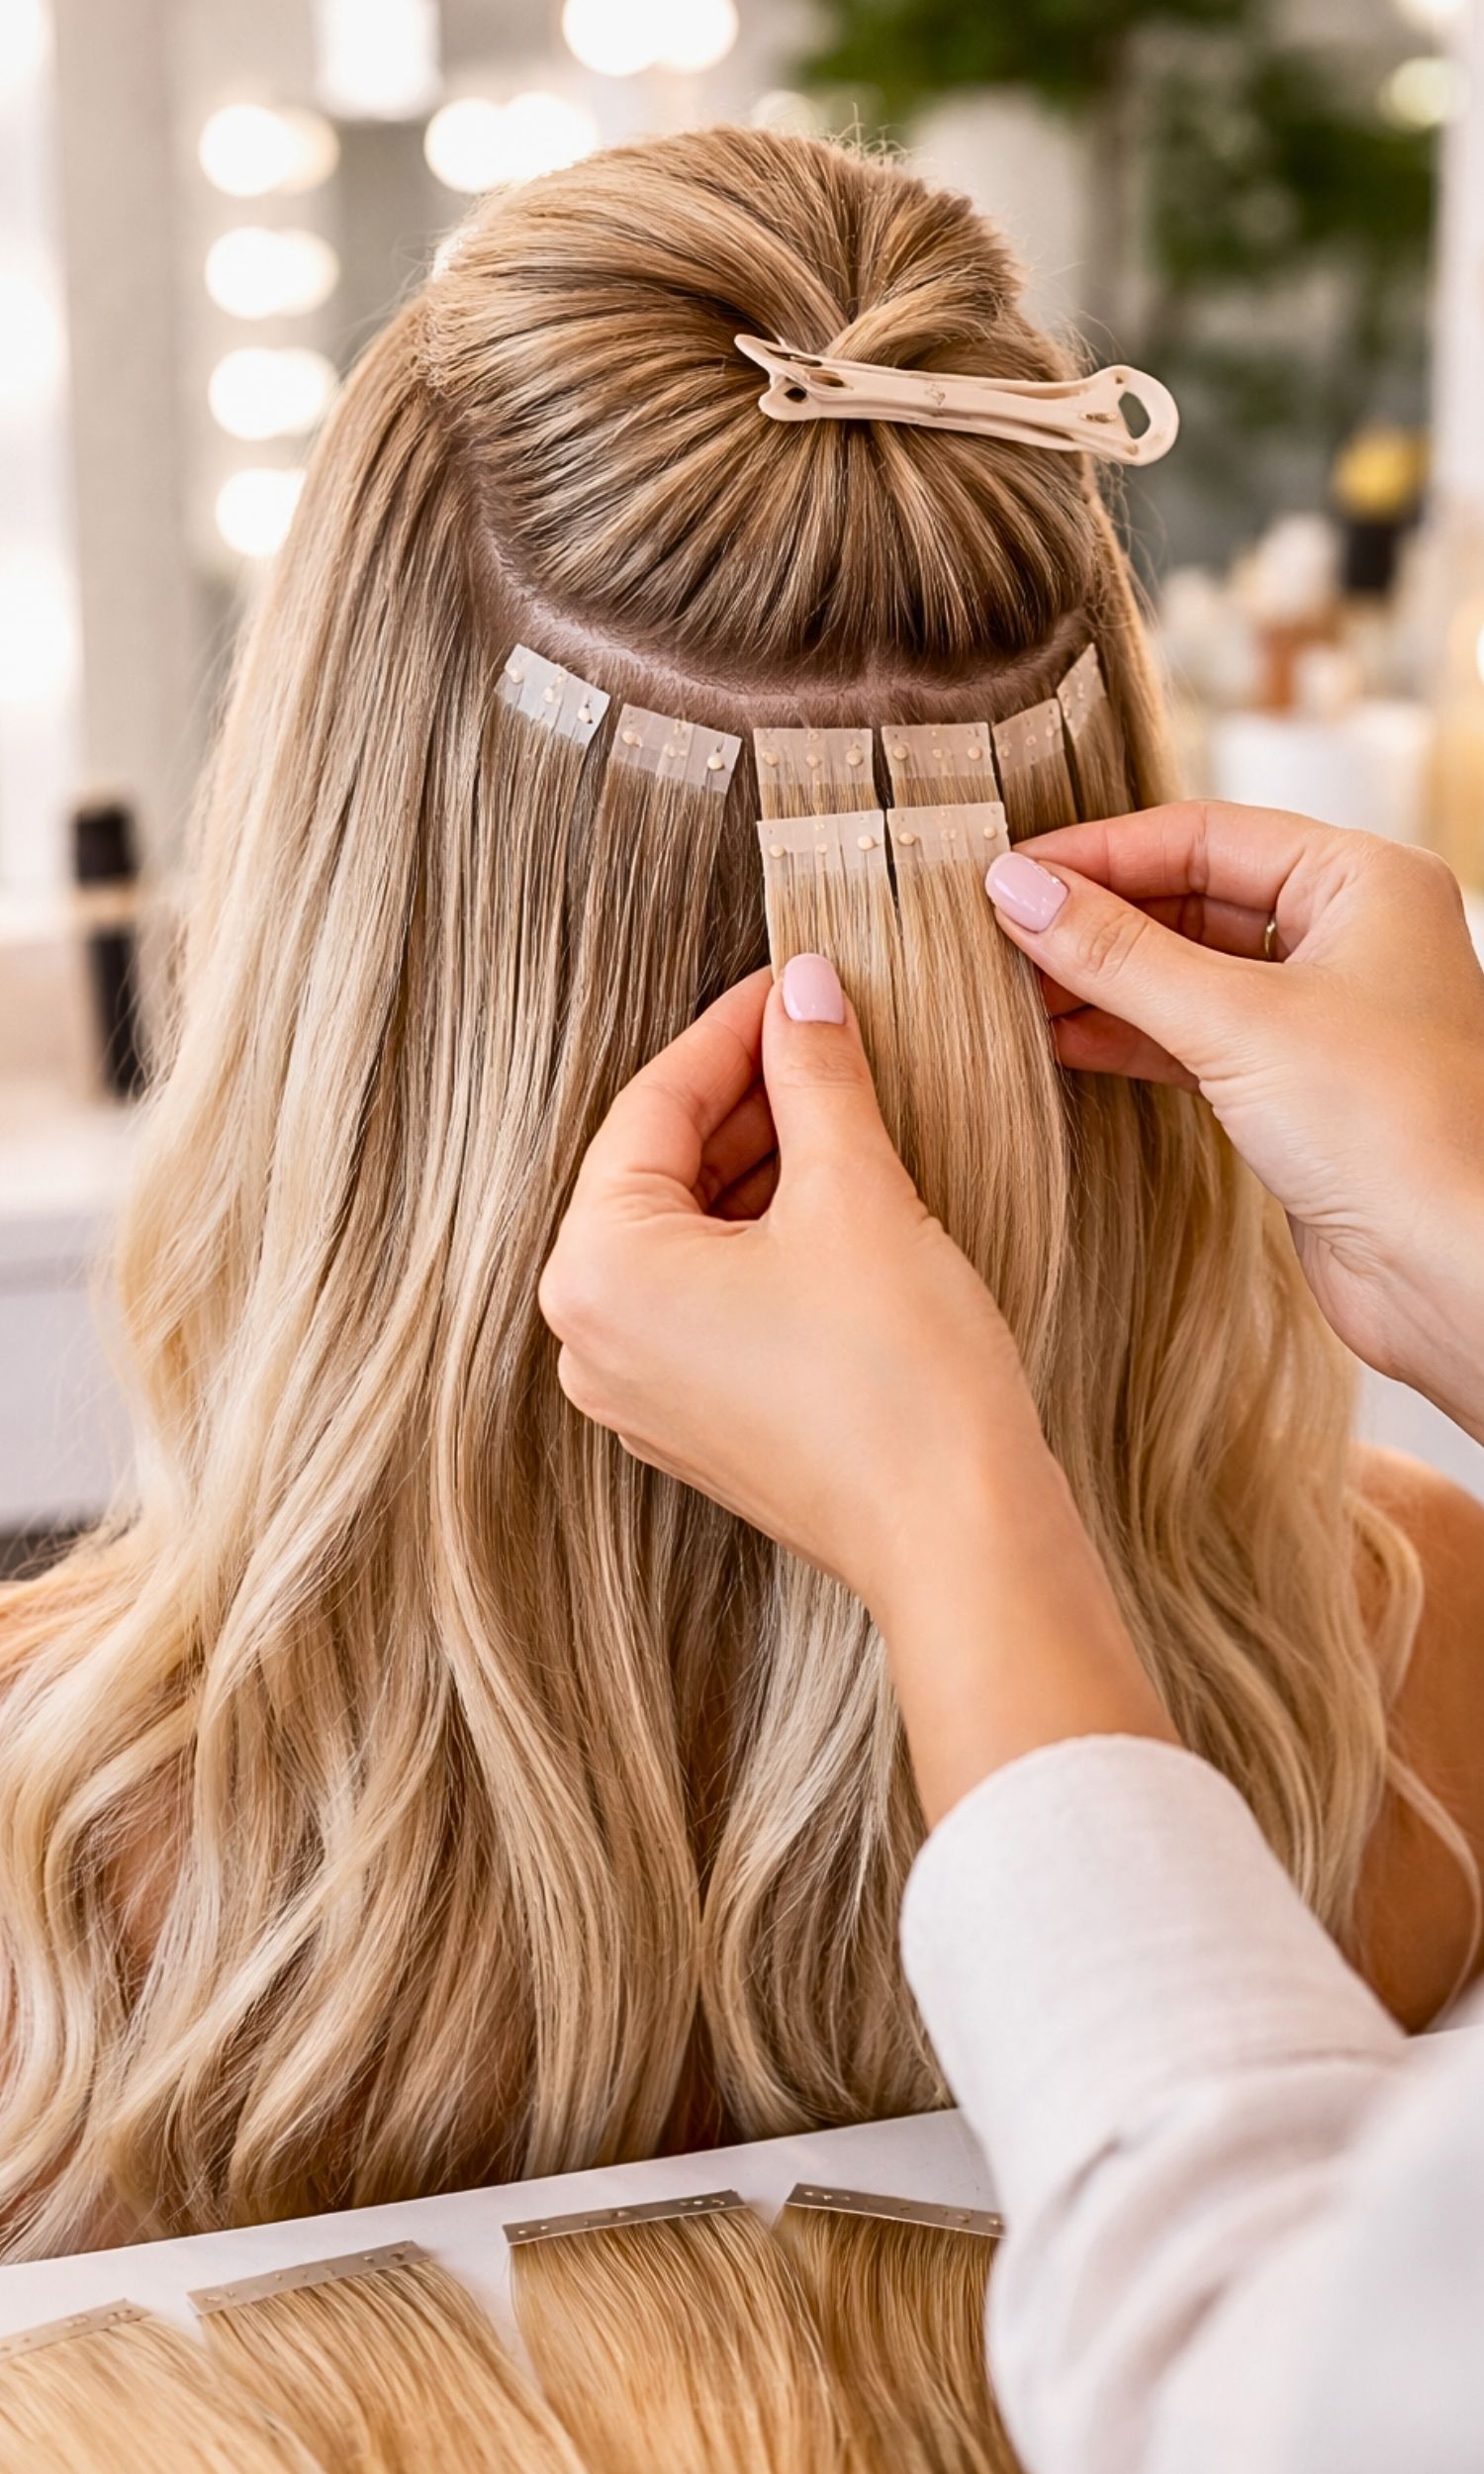
2. All About Tape-In Extensions
Think of tape-ins like tiny hair sandwiches. Your real hair sits in the middle. Two taped pieces sit on each side and hold tight. The adhesive is medical-grade, which means it’s made to stay put through washing and styling.
Tape-ins are great if you want something more lasting than clip-ins. But they still need care. Most people get them moved up every 5–8 weeks. The hair itself usually gets replaced around the six-month mark.
They’re a sweet middle ground. Not too temporary. Not too intense. Just right for many people.
3. Types of Tape-In Extensions to Consider
Not all tape-ins are built the same. And yes — quality matters a lot here. Real human hair costs more, but it behaves like your own hair. Synthetic hair can tangle and even melt with hot tools. I’ve seen it happen. It’s not pretty.
Here are the main types you’ll hear about:
Standard tape-ins
- Most common option
- Hair is laid flat and sealed into a strip
- Strong and reliable
- Great for first-timers
Front-injected tape-ins
- Look the most natural
- Hair is injected into the strip
- Mimics hair growing from the scalp
- Best for visible areas near the face
Weft tape-ins
- Longer strips placed like a weft
- Faster to install
- Add lots of fullness fast
- Growing in popularity
If you’re unsure, your stylist can guide you. It’s like picking jeans — fit matters more than brand.
4. Are Tape-Ins Right for You?
Tape-ins are amazing, but they’re not perfect for every lifestyle. If you love slick ponytails or tight braids every day, you may get frustrated. The attachment points can show. If you hate blow-drying and only air-dry, that’s another red flag.
But if you want length, volume, or to fill thin spots, they shine. They feel light. They’re comfy to sleep in. And they blend well with many hair types, even short dense cuts.
They’re like adding extra speakers to your sound system. Same music — just fuller.
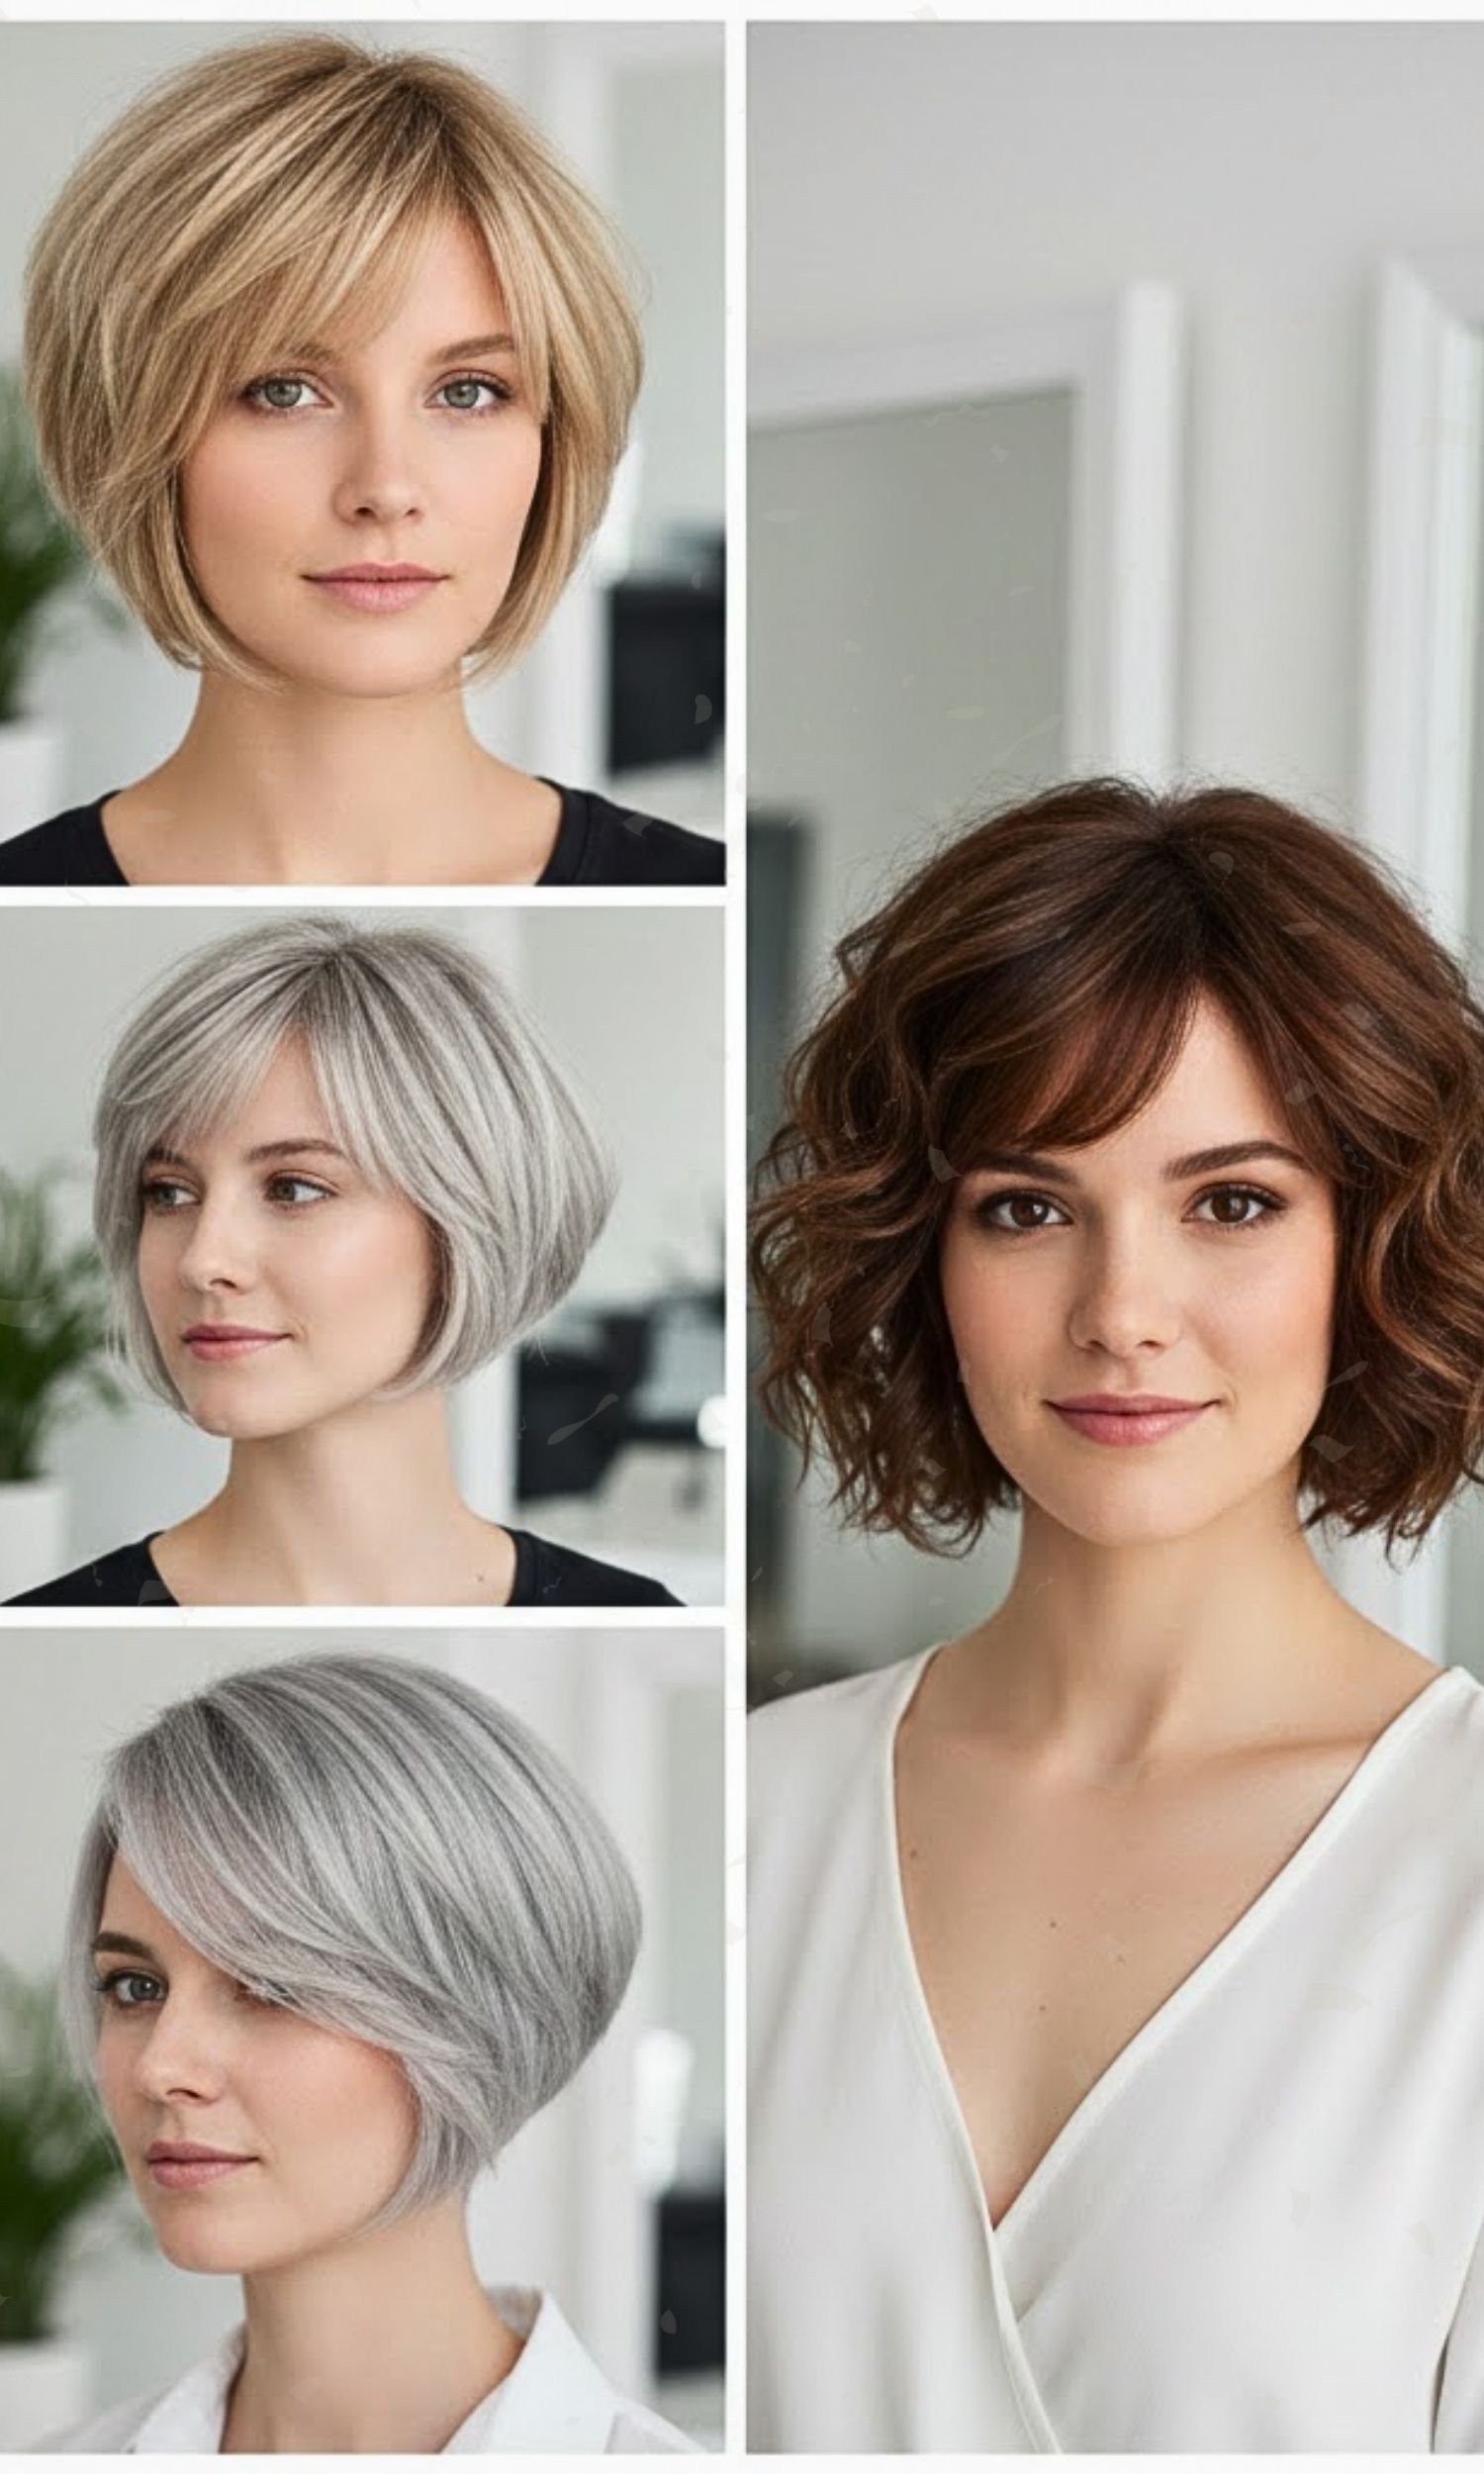
5. Choosing the Right Length
Length is personal. There’s no rulebook here. It depends on your height, your haircut, and your vibe.
If you only want fullness, go just a bit longer than your real hair. That helps blending. If you want drama, go longer — but be realistic about your base length. Super short hair jumping to very long extensions can look fake.
Quick guide:
| Your Goal | Best Length Choice |
|---|---|
| Add fullness | 1–2 inches longer than your hair |
| Soft length | Mid-range length |
| Big change | Long, but still blendable |
A good trick is to measure where you want the hair to hit on your body. That makes it real fast.
6. Picking the Right Color
Color matching is harder than people think. Photos lie. Lighting lies. Bathroom mirrors lie. In-person matching wins every time.
Stylists often use a color ring with real samples. That gives the best match. If you buy the hair yourself, try to see it in person.
Close is good — perfect is better. Extensions can be toned or slightly colored, but there are limits. It’s easier to adjust a near match than fix a bad one.
7. How to Care for Tape-In Extensions
Tape-ins are like house guests. Treat them well and they behave. Ignore them and chaos shows up.
Brushing
- Brush daily
- Be gentle near the tape area
- Hold the roots and brush from ends up
- Never yank through knots
Avoid these products near the tapes
- Heavy oils
- Thick creams
- Alcohol products
- Detanglers with lots of slip
They can loosen the adhesive and cause sliding.
Use these instead
- Heat protectant every time
- Light products on mid-lengths and ends
- Sulfate-free shampoo
Extensions are real hair. They can dry out just like yours.
8. Washing and Drying
Wash gently. Don’t scrub like you’re sanding a table. Use your fingers in a soft zig-zag motion between the tapes.
Rinse very well. Leftover product causes tangles fast. You can even split hair into sections to clean better.
Blow-dry the roots after washing. Air-drying sounds nice, but trapped moisture can weaken the adhesive and cause buildup. Think of it like leaving a wet bandage on too long — not ideal.
9. Styling and Sleeping
You can still curl and wave your hair. Just keep high heat away from the tape tabs. Too much heat turns adhesive soft and sticky.
Some styles are trickier at first. Slick backs and tight braids may show the tabs. Loose styles are easier until you learn placement.
For sleep:
- Use a silk pillowcase or bonnet
- Put hair in a loose braid
- Avoid tight ties
It keeps things smooth and tangle-free — like parking your car in a garage instead of the street.